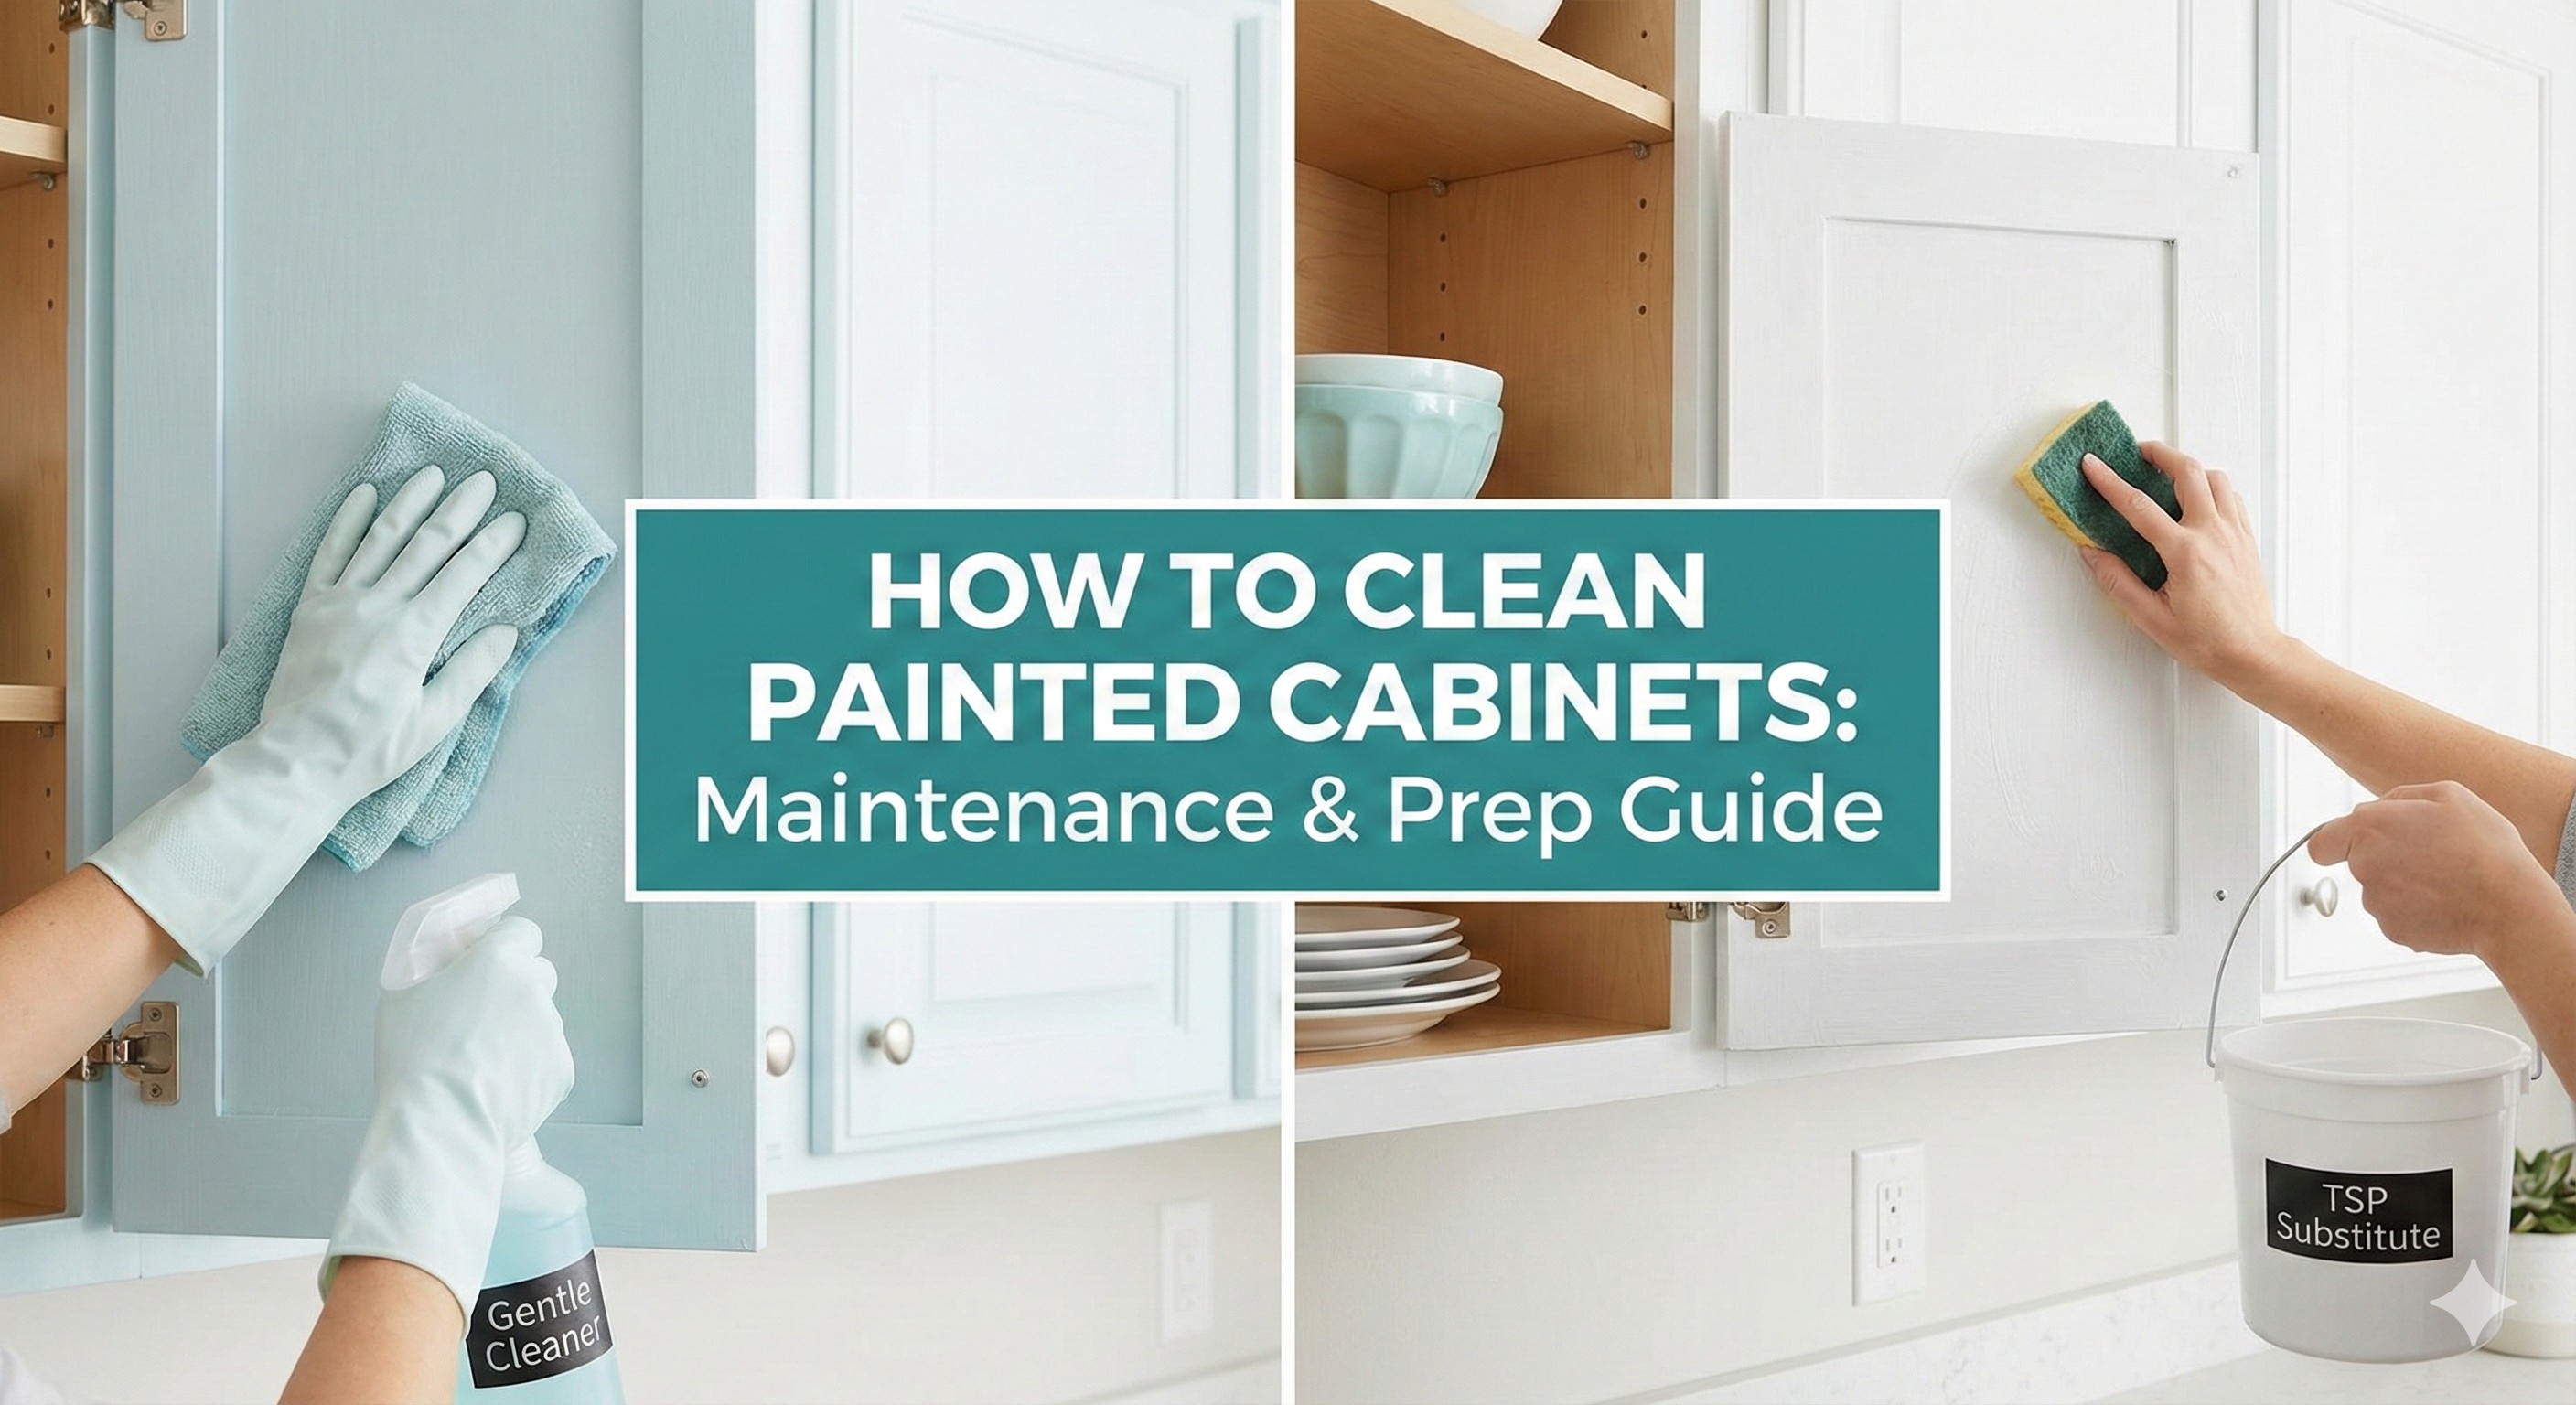
The best way to clean painted cabinets is to use a mixture of warm water and mild dish soap. Dip a microfiber cloth into the solution, wring it out until damp, and wipe the cabinet surface gently. Rinse with a clean damp cloth to remove any soap residue, then dry immediately with a fresh microfiber towel to prevent water damage. Avoid abrasive sponges, bleach, or ammonia, which can strip the paint finish.
Why Painted Cabinets Require Special Care
Painted cabinets are durable, but they aren't indestructible. Unlike stained wood, which absorbs some wear, paint sits on top of the wood surface. Using harsh chemicals or scrubbing too hard can dull the finish, cause peeling, or even rub the paint right off.
Whether you have a trendy matte finish or a classic semi-gloss, the goal is to clean the grime without compromising the coating.
Step-by-Step Guide to Cleaning Painted Cabinets
1. Dust First
Before you introduce water, remove loose dust and debris. Use a dry microfiber cloth or a duster to wipe down the doors, focusing on the molding and corners where dust settles. This prevents you from just smearing wet dust around later.
2. Mix Your Cleaning Solution
Skip the fancy chemicals. In a small bucket or bowl, mix:
Warm water
A few drops of mild dish soap (like Dawn) creates a gentle grease-cutting solution that is safe for almost all paint types.
3. Wipe Gently (Don't Soak!)
Dip your microfiber cloth into the soapy water and wring it out thoroughly. The cloth should be damp, not dripping. Excess water is the enemy of painted wood cabinets. Wipe the cabinets from top to bottom, paying extra attention to the areas around the handles where oils from your hands accumulate.
4. The Rinse Step
This is the step most people skip, but it’s crucial. Soap residue can attract more dirt over time or leave a hazy film. Take a fresh cloth dampened with plain water and wipe over the surfaces you just cleaned to remove any suds.
5. Dry Immediately
Never let painted cabinets air dry. Standing moisture can seep into seams and cause the wood to swell or the paint to crack. Use a clean, dry microfiber towel to buff the cabinets dry immediately after rinsing.
How to Remove Tough Grease Stains
If dish soap isn't cutting through a stubborn grease splatter, try this spot-treatment method:
Make a paste with baking soda and water.
Dab it onto the spot using a soft sponge or your finger (do not scrub aggressively).
Let it sit for a few minutes to break down the grease.
Wipe away gently with a damp cloth and dry immediately.
The "Do Not Use" List
To protect your investment, keep these items away from your painted cabinets:
Magic Erasers: These are abrasive (like fine sandpaper) and can ruin the sheen of your paint, leaving dull spots.
Ammonia or Bleach: These harsh chemicals can discolor and weaken the paint.
Powdered Cleansers: Any gritty cleaner can scratch the finish.
Soaking Wet Sponges: Water damage is the #1 cause of cabinet failure.
Maintenance Tips
Wipe spills instantly: Coffee, tomato sauce, and grease can stain paint if left to sit.
Deep clean seasonally: Give your cabinets a full wash every 3–6 months to keep them looking fresh.
Watch the hardware: Clean knobs and pulls separately to avoid getting cleaner stuck behind them.
By sticking to these gentle methods, you can keep your painted cabinets looking brand new for years without risking damage to the finish.
Prep for Painting: Deep Cleaning Cabinets Before You Prime
If you are reading this because you are about to paint your cabinets, the gentle "dish soap method" above isn't enough. To ensure your new paint adheres properly, you need to remove decades of cooking oils, furniture wax, and grime that dish soap leaves behind.
Quick Answer: The industry standard for cleaning cabinets before painting is TSP (Trisodium Phosphate) or a TSP Substitute. This heavy-duty degreaser cuts through layers of oil and slightly etches the old finish, creating the perfect surface for primer to grab onto.
Step-by-Step Pre-Paint Cabinet Cleaning Guide
1. Gather Your Supplies
TSP or TSP Substitute: found in the paint aisle of any hardware store.
Heavy-Duty Rubber Gloves & Eye Protection: TSP is strong stuff—protect your skin.
Abrasive Sponge (Green Scotch-Brite): Since you are painting over the surface anyway, you can afford to scrub harder to remove stubborn grime.
Buckets & Rags: One bucket for the cleaning solution, one for clean rinse water.
2. Apply and Scrub
Mix the TSP with water according to the box instructions. Soak your sponge and scrub the cabinets thoroughly. Pay extra attention to areas near the stove and around handles, where grease accumulates. You want the surface to feel "squeaky" clean, not slippery.
3. Rinse Thoroughly
This is critical. If you leave TSP residue on the wood, your new paint might peel. Wipe down every inch of the cabinet with clean water and fresh rags at least twice to ensure all chemical residue is gone.
4. Let It Dry Completely
Wood swells when wet. If you prime damp wood, you will trap moisture inside, leading to bubbling paint later. Allow the cabinets to air dry for at least 24 hours before sanding or priming.
Pro Tip: If you are nervous about using chemicals like TSP, products like Krud Kutter Gloss-Off are excellent alternatives that clean and de-gloss in one step without the harsh fumes.